
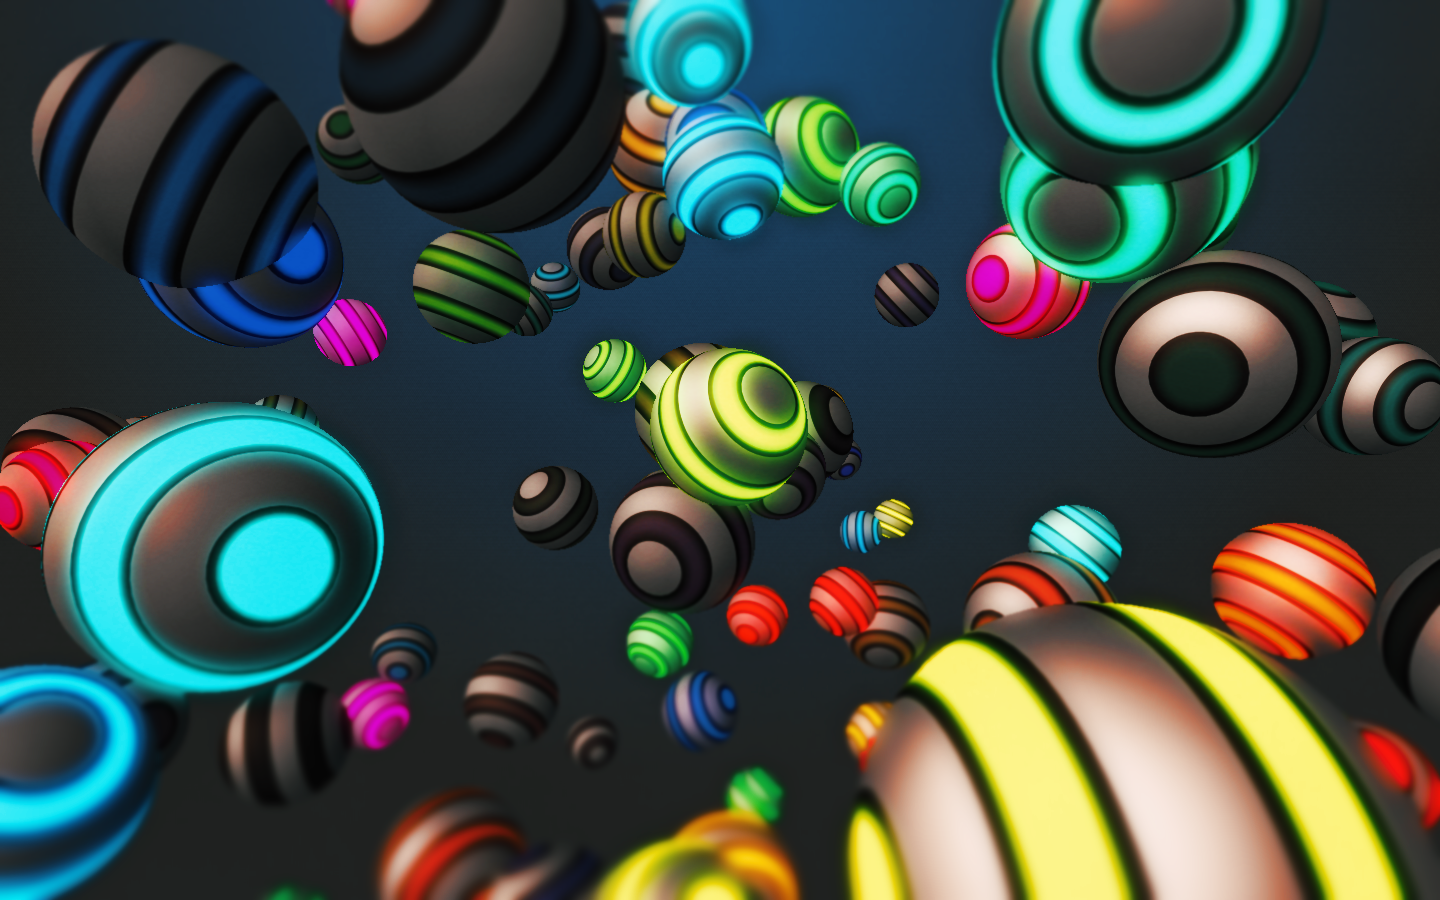
Here’s a realtime audio-visual experiment that I made recently. It’s a bunch of glowing balls, synced to the majesty of 4Mat’s track, “Omega”.
A few people have asked me how I made it. The short answer is that the video was rendered in real-time in my AteBitVJ app and captured using Fraps. I thought I’d take things a bit further and explain how the scene is constructed by doing a shot breakdown on a layer by layer basis.
Layer Cake
Omega Balls was built out of three main elements: the background, the balls themselves and a number of post-processing effects. Using AteBitVJ enables me to quickly and easily build up such a scene out of layers.
Background

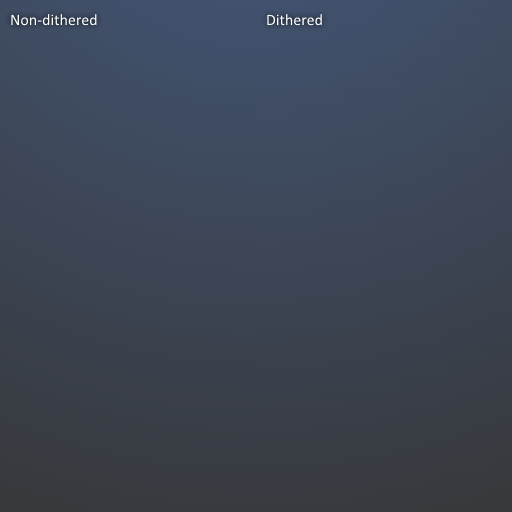
First up comes the background. This is a simple radial gradient. One interesting thing to note is that this gradient is dithered to avoid ugly banding artefacts. I use an 8×8 Bayer Matrix as described here. It’s a surprisingly simple and effective method – check out the before and after. You just need to remember to apply the dither at the final stage before you convert from high colour depth (floating point as used in the shader) to low (the 8bpp render texture). I think I could do even better by using a fully HDR pipeline and applying the dither just before rendering to screen.
Balls
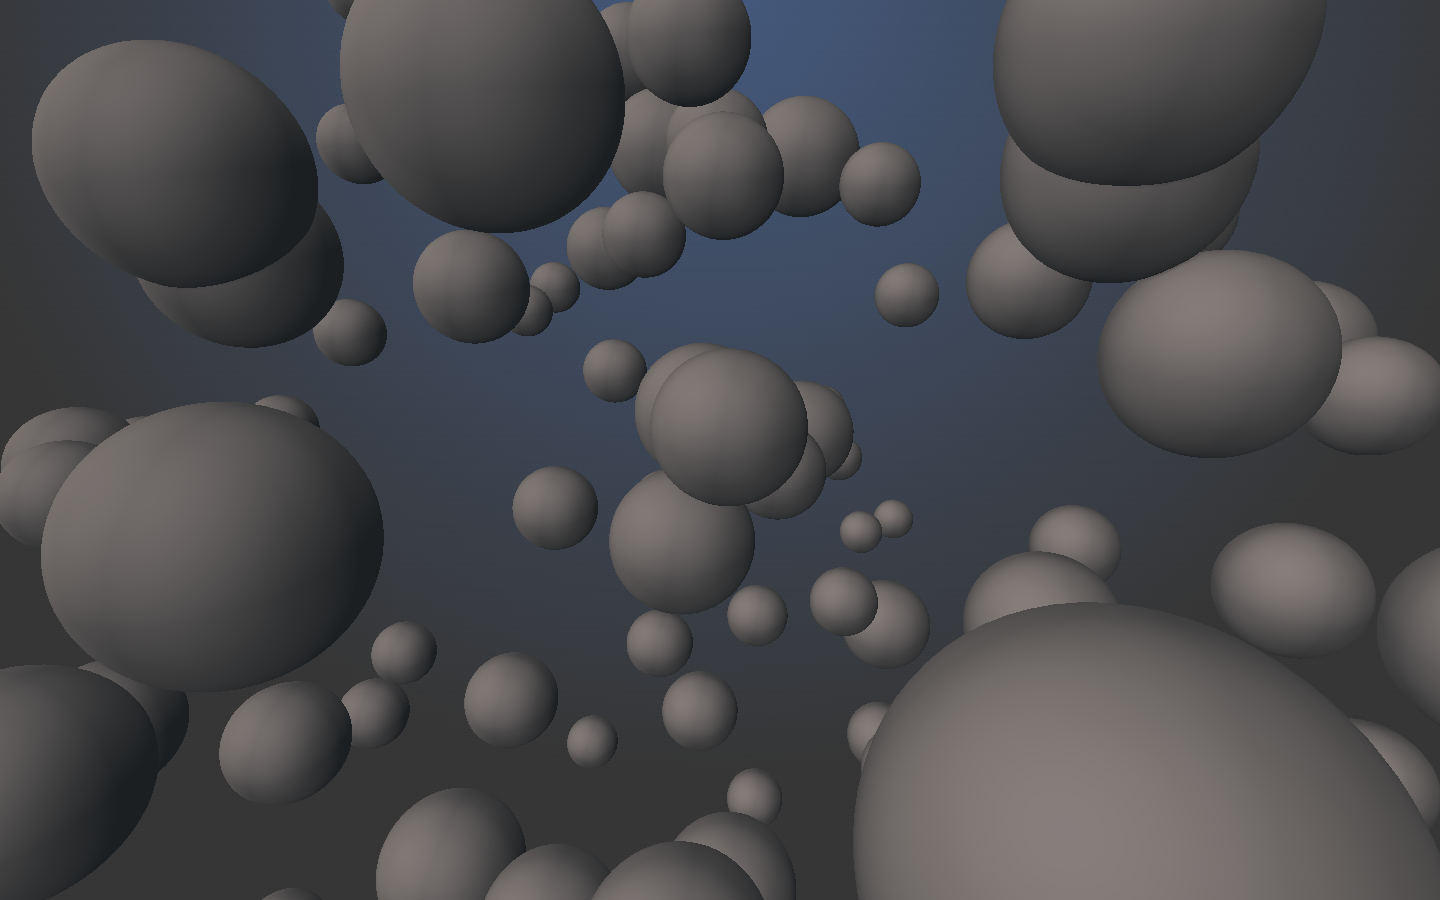
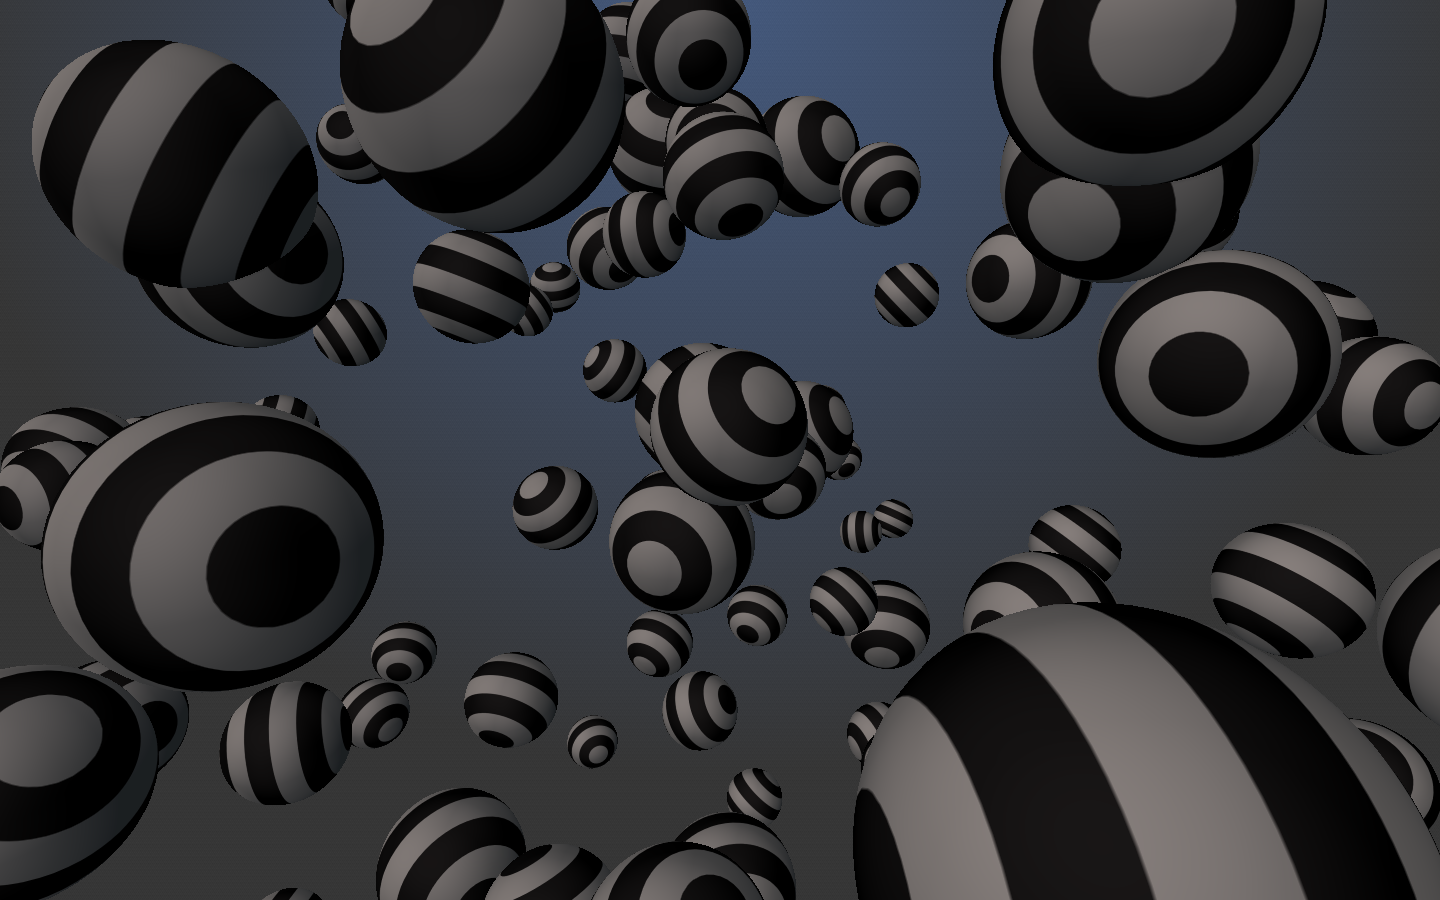
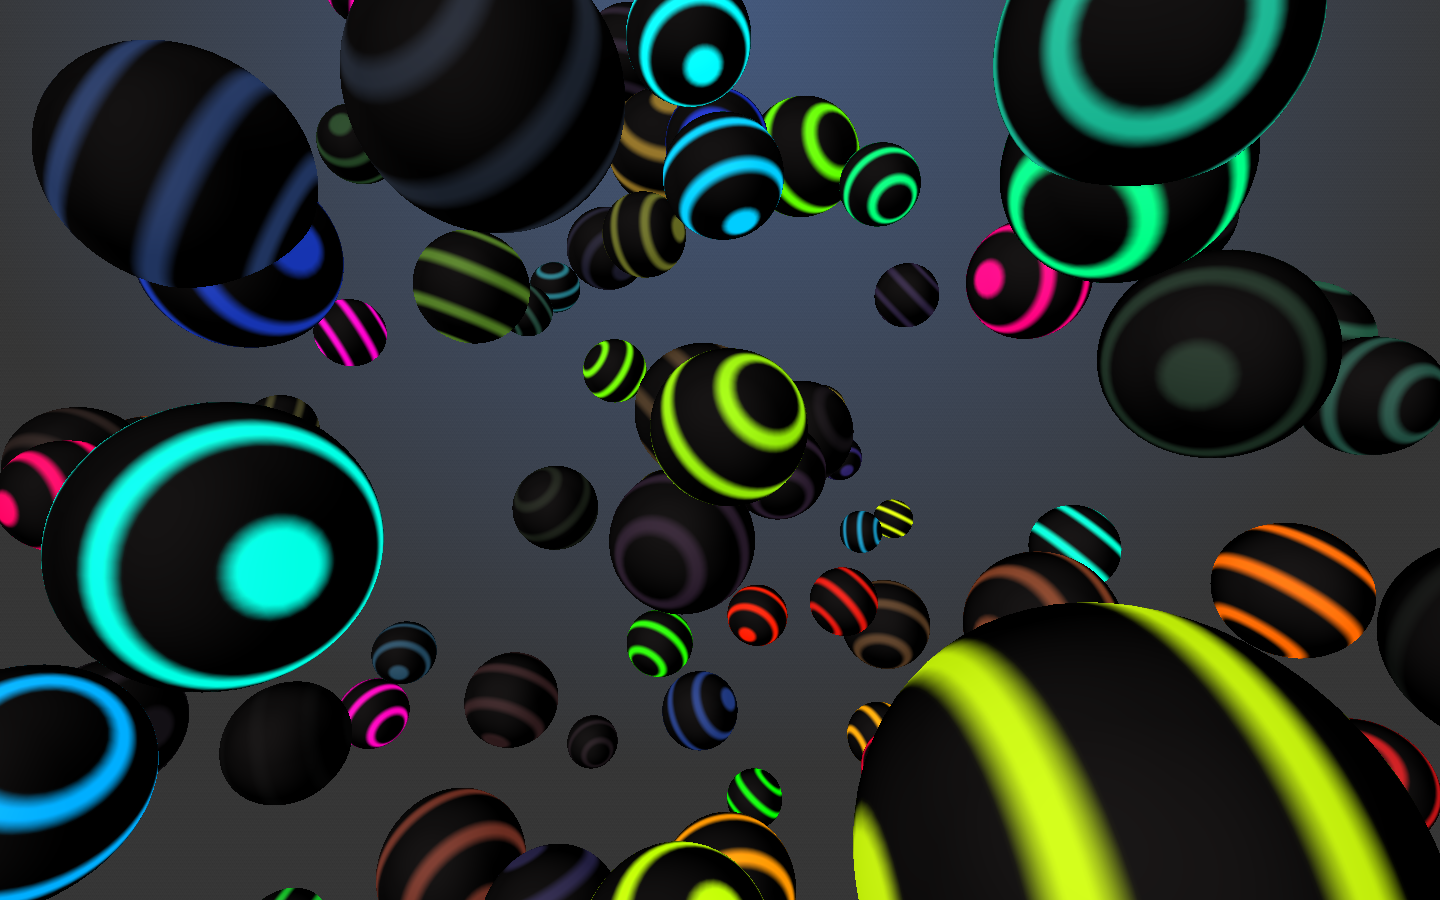
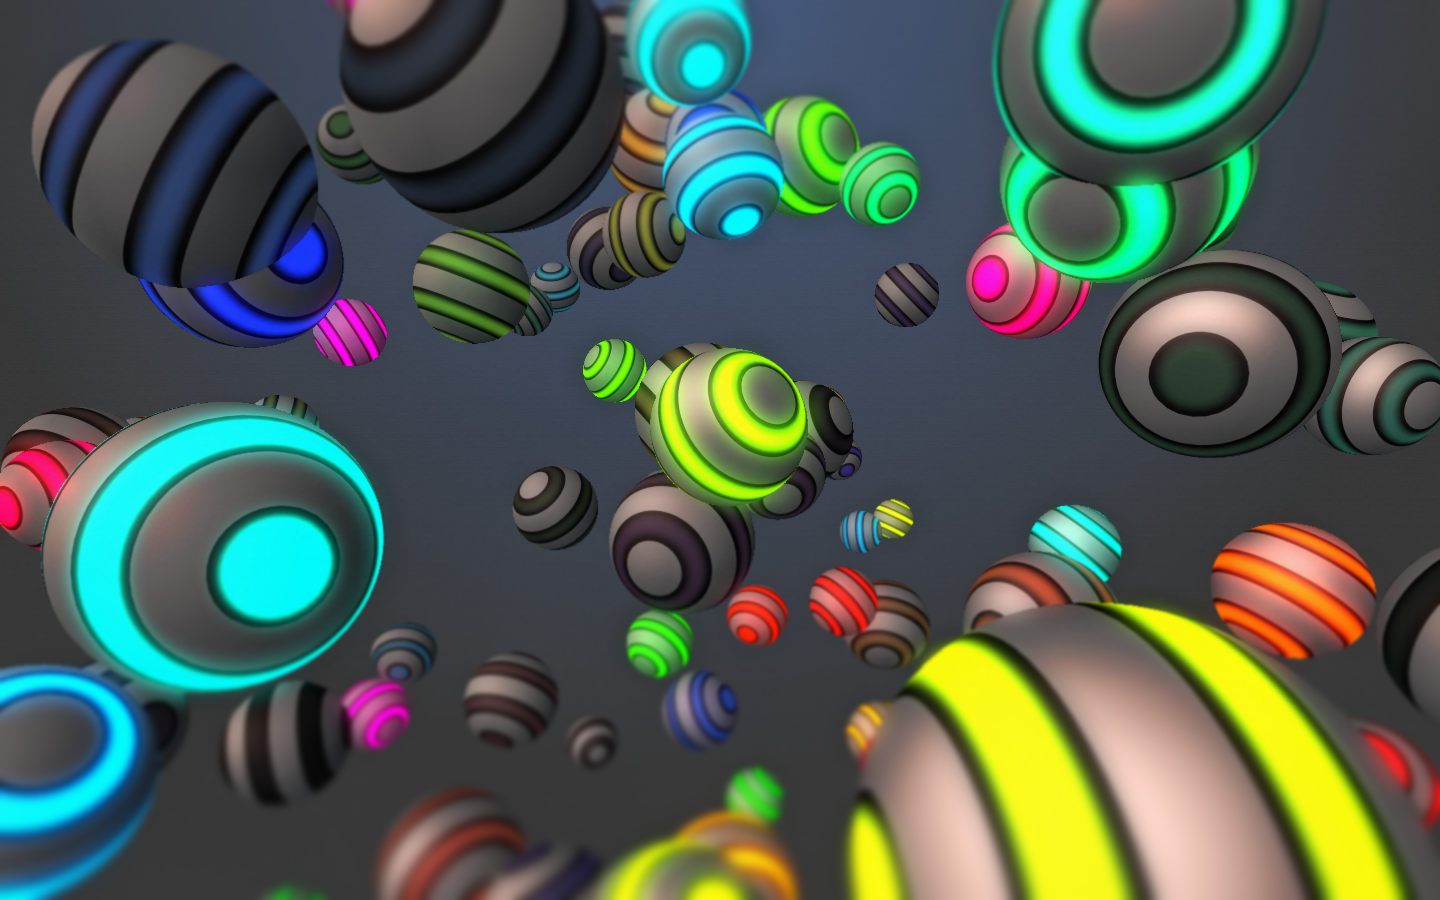
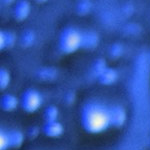
 Next are the balls themselves. These are made out of basic sphere meshes with simple diffuse and emissive textures applied. The brightness of the emissive texture is modulated by the FFT of the audio track, with a specified range of frequencies being spread across the whole set of balls. At points during the video I tweak this range slightly to give a better looking response. I also change the hue range of the balls during the video to create some sense of progression. Below you can see what the balls look like with no texture, or just diffuse or emissive textures applied.
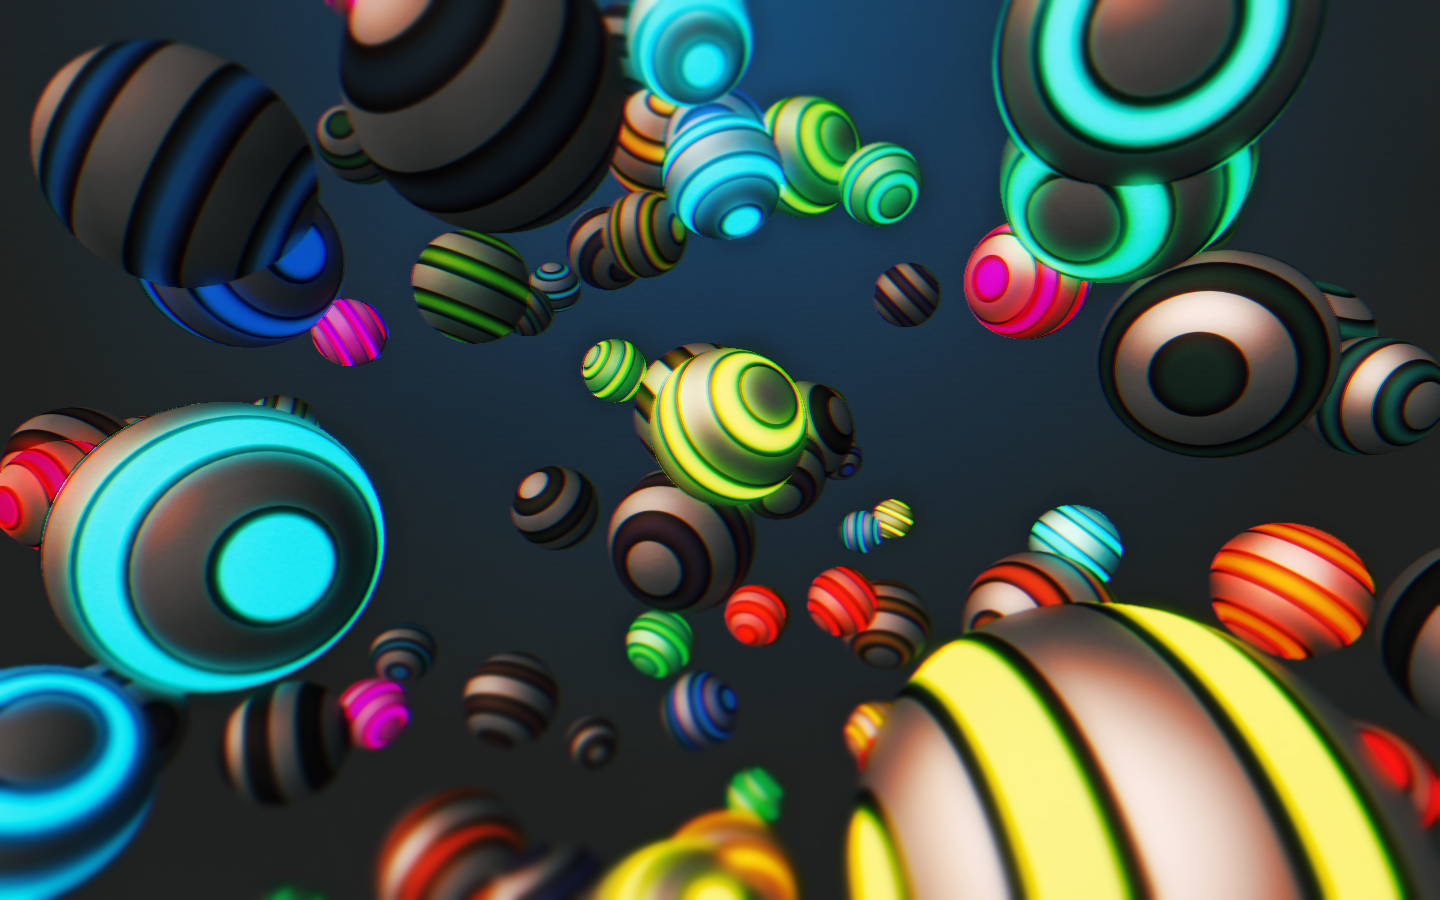
Post-Processing
The main part of the scene is now rendered, so from here on it’s just post-processing.
 Bloom, applied to just the ball elements.
 A little bit of noise is added. I often like to add a little bit of noise just to roughen things up, to create a little variety and to help break up banding and other artefacts.
 I used a blur to simulate a focus effect. The blur is modulated by a mask that keeps the middle of the image in focus whilst blurring the top and the bottom.
 Colour Look Up Tables, or LUTs, or my new favourite discovery. These are used heavily in the film and post-production industries to manage colour spaces. I use one here to apply a vintage Kodachrome style colouring to the entire scene, which adds a huge dollop of warmth and depth.
 Finally I add a subtle RGB shift effect – it moves the red channel a fix pixels to the left, and the green and blue a few pixels to the right. This effect is (still!) all the rage these days, helping to make pretty much any image look modern and interesting.
Once More, With Feeling
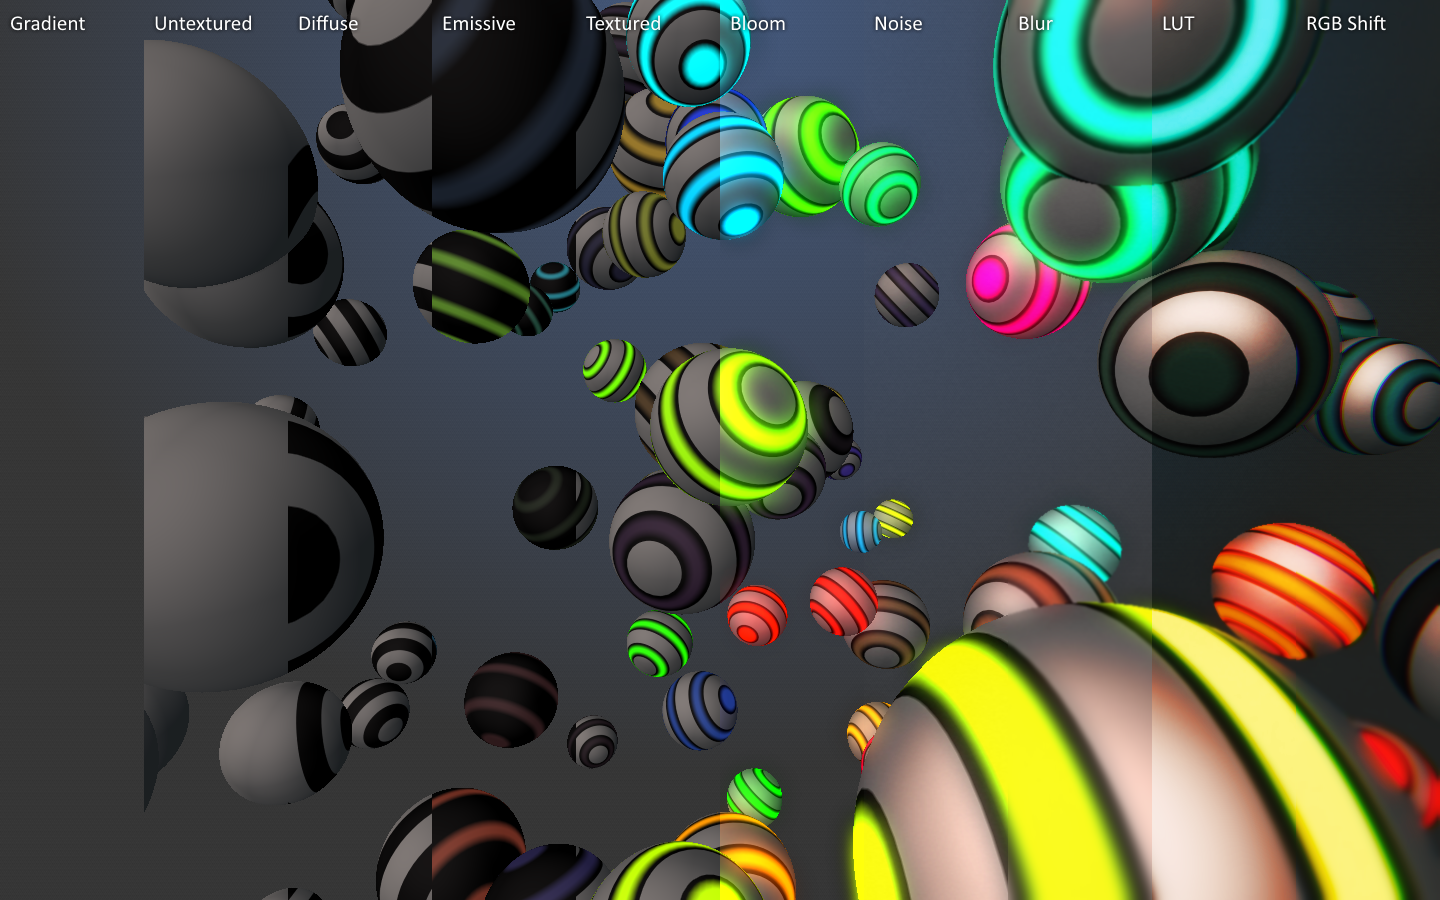 Here’s the whole process in a handy all-in-one image with annotations. Looking back at the end result, it’s interesting to me to note that it’s not until the last couple of layers that the scene really starts to come alive.
AteBitVJ
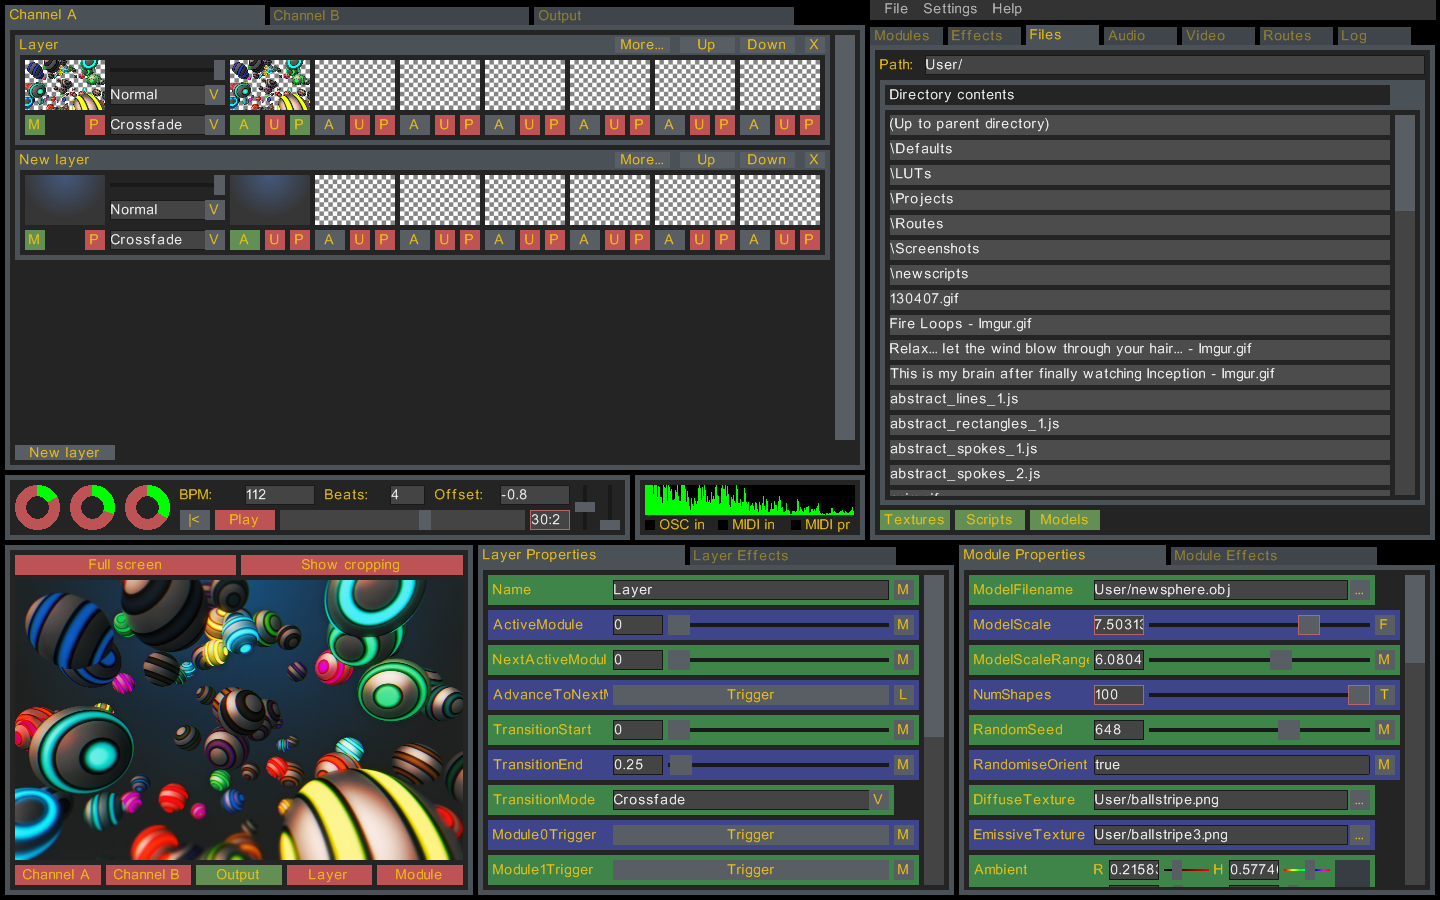 To wrap things up, here’s a shot of the scene inside AteBitVJ. The real benefit of such a tool is that the whole process can be worked on in a highly interactive manner. Don’t like something? Change it and instantly see the results. Scrub through the timeline and see what it looks like without waiting for it to be re-rendered. Maybe you need to play a few bars of music to get a better feel? Just do it. In fact the only downside I’ve found with tools like this is that it’s easy to get lost in just watching your scene.. but then I usually take the act of getting lost like that as a sign that I’m getting somewhere ;)


