
Two weeks ago, at the Sundown demoparty in southern England, I took AteBitVJ out for a spin. Actually, it was two spins.. VJing for Hoffman and then Savannah, both of Unstable Label. Both played pretty hard breaks, with Hoffman demonstrating his awesome PT-1210 software running on dual Amigas.
Unfortunately there isn’t much footage of AteBitVJ in action other than this video showing Hoffman in action, with my visuals in the background. <crime reporter>If you have any photos or videos of the event, please don’t hesitate to send them in</crime reporter>
Set-up and control
My setup for the event was a MacBook Pro running Windows 7 64bit with external control coming from a Korg Nanokontrol and a Novation Launchpad. The internal microphone on the MacBook was used for audio-to-visual mappings after my (usually awesome) MOTU Ultralight refused to play ball on the night. I used the Nanokontrol as a fader (master fade and layer faders) and the Launchpad as a module selector, with each row of buttons responsible for triggering the modules of one layer. I also had a couple of spare Launchpad buttons hooked up to control the tempo. I love the big, tactile and highly visible buttons on the Launchpad and the NanoKontrol has controls that are easy to locate in the dark. The big advantage of this controller layout is that my main show controls were always right at hand. This left me free to edit and tweak the rest of the show with mouse and keyboard without ever losing sight (or control) of my main output. It also let me control the visuals “heads-up” for most of the time, meaning that I could keep my eyes on the DJ and the crowd and react to what they were doing. It’s the first time I’ve ever used a Launchpad but I was so impressed that I’m considering one of their new Launchpad Mini controllers.
Show content
For my VJ set I had a two main banks of modules. The first bank consisted of four different layers, with each layer having a selection of different modules. Most of the layers had some form of audio control – usually just a simple fader where more audio means a more visible layer. The layers were roughly defined as foreground, “sparkle”, middle and background. The “sparkle” layer was there to do just that – add an extra layer of colour and sparkle. It was set up to be controlled by the highs from the audio so that loud, bright music would introduce a subtle, glitchy, colour shifting layer to the scene.
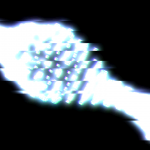
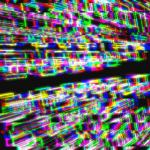
Here are some thumbnails from the modules:
Bank 1
Foreground layer
-
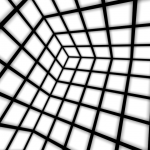
- 3D cube model, rotating according to audio input
-
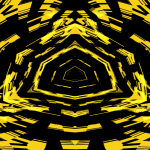
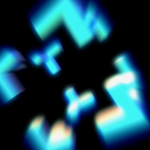
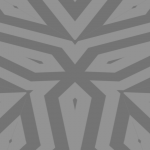
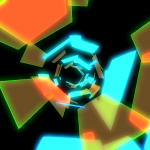
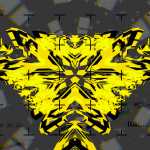
- Trippy, spinning kaleidoscope image
-
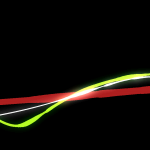
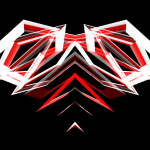
- Spinning, glowing lines with glitching
-
- Stream of rotating cubes
-
- Tube of spinning cubes with extrem bloom, RGB distortion and glitching
-
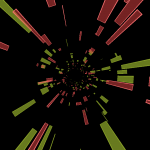
- Tunnel of rectangles, with spawn rate controlled by the audio
Sparkle layer
-
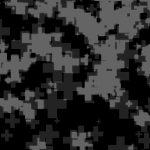
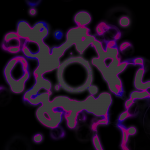
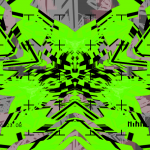
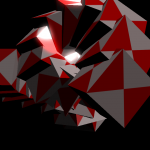
- Grid of rotating cubes with glitching, distortion and colour cycling
Middle ground layer
-
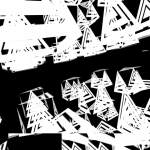
- Rotating grid of rectangles with glitching
-
- Rotating grid of rectangles with glitching
-
- Slowly spinning series of cubes, travelling into the distance
-
- Spinning grid
Background layer
-
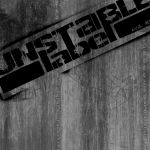
- Unstable Label image
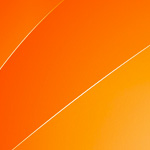
-
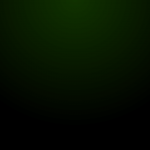
- Dark gradient
-
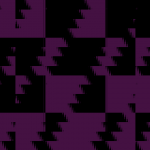
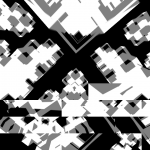
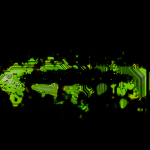
- Glitched scrolling checker-board pattern
-
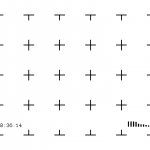
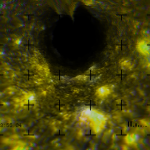
- Field of strobing crosses
-
- Kaleidoscope
-
- Trippy tunnel, controlled by audio
Bank 2
The second bank had four completely stand-alone modules:
-
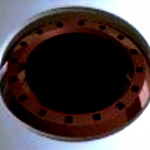
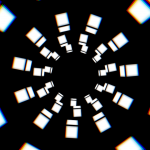
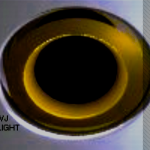
- Spinning disc, taken from an old MFX demo
-

- Distorted, zooming tunnel, controlled by audio
-

- Spinning particle system, controlled by audio
-
- Glowing tunnel of rectangles, with spawn rate controlled by the audio
Bank 3
Finally, there was a third bank with overlays that would show on top of either bank 1 or bank 2:
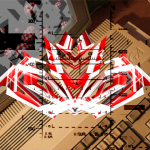
-
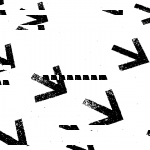
- A series of images, synced to the beat and glitched
-
- Static image overlay
-
- Random computer text, generated by a module scripted in Python
-
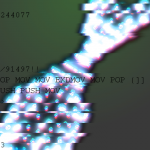
- Fake surveillance camera overlay with “live information”, generated by a module scripted in Python
Output
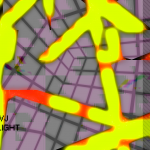
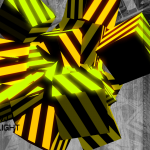
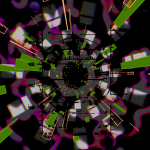
All of these modules could be combined in many different ways, and here are some of the results:
The power of AteBitVJ – The power of procedural content
The last important point I wanted to make about this gig, about AteBitVJ and about procedural content in general is the flexibility that it affords you. I arrived at the event expecting to be providing visuals for one DJ set of around 45 minutes. Turns out that there were two 45 minute sets. Now I could have just stretched the same content over the two sets but that would have felt like a cop-out. The DJs deserved more and I wanted to differentiate their sets by giving each of them a different visual look. With procedural content this is dead easy to do. I simply took my original set and produced a variation of it for one of the DJs. This was done by swapping out a couple of modules, changing textures and images and tweaking some settings. Et voila (as the French would say) – two different sets. Because of my control set-up I was also able to easily make tweaks to the visuals as the DJs played, further evolving and changing the visuals as the show went on. That’s the power that procedural content gets you, and being able to harness that flexibility is exactly what AteBitVJ is all about.
Variation
Last but not least, here are some of the modules that I used for my alternative set, backing Hoffman DJing on his Amigas. Â You’ll notice some Amiga themed images in here:
-
- Some scrolling ribbons, controlled by audio
-
- The same trippy kaleidoscope effect from the first set but recoloured and tweaked
-
- The classic Amiga ball
-
- Another effect tweaked and recoloured to fit the theme
-
- Another effect tweaked and recoloured to fit the theme
-

- Another effect tweaked and recoloured to fit the theme
-
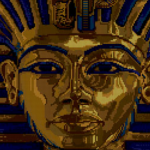
- The classic Amiga DPaint image
-
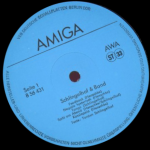
- A spinning record label
-
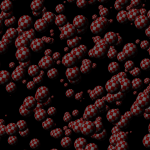
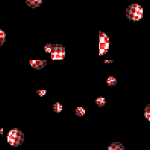
- Hundreds of Amiga balls
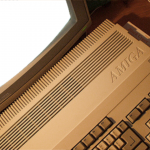
-
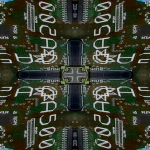
- The inside of an Aimga A500
-
- A mask overlay
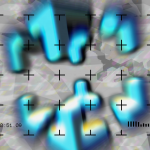
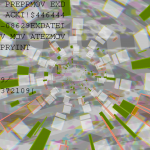
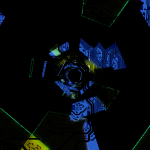
..and here’s an example of how the final output looked:
Want more of AteBitVJ?
Contact me if you’d like to make AteBitVJ part of your event.


give me this now